Fix Common Plumbing Issues Yourself: A Quick Guide
Plumbing problems are an inevitable part of homeownership. While some issues require professional intervention, many common plumbing problems can be fixed easily with a bit of knowledge and the right tools. Tackling minor repairs yourself not only saves money but also prevents small issues from escalating into costly emergencies.
In this comprehensive guide, we’ll explore common plumbing issues you can fix yourself, provide step-by-step instructions, and share tips to help you maintain your home’s plumbing system effectively and safely.
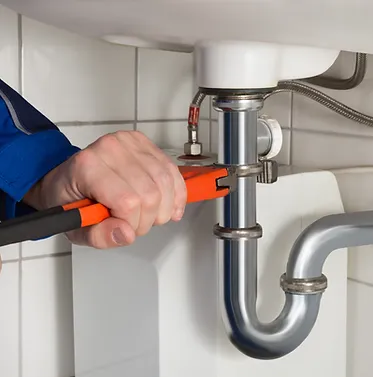
Table of Contents
- Why DIY Plumbing?
- Essential Tools for DIY Plumbing
- Safety Precautions
- Fixing a Leaky Faucet
- Unclogging a Drain
- Repairing a Running Toilet
- Addressing Low Water Pressure
- Fixing a Leaking Pipe
- Replacing a Showerhead
- Installing a New Faucet
- Clearing a Jammed Garbage Disposal
- Maintaining Your Water Heater
- When to Call a Professional
- Preventive Maintenance Tips
- Common Mistakes to Avoid
- Conclusion
- About Wrestore
1. Why DIY Plumbing?
Handling minor plumbing repairs yourself offers several advantages:
Benefits:
- Cost Savings: Avoid labour costs associated with professional services.
- Convenience: Fix issues promptly without waiting for a plumber’s schedule.
- Empowerment: Gain confidence and skills in home maintenance.
- Preventative Care: Regular DIY maintenance can prevent larger problems.
SEO Keywords: DIY plumbing, fix plumbing issues yourself, benefits of DIY repairs
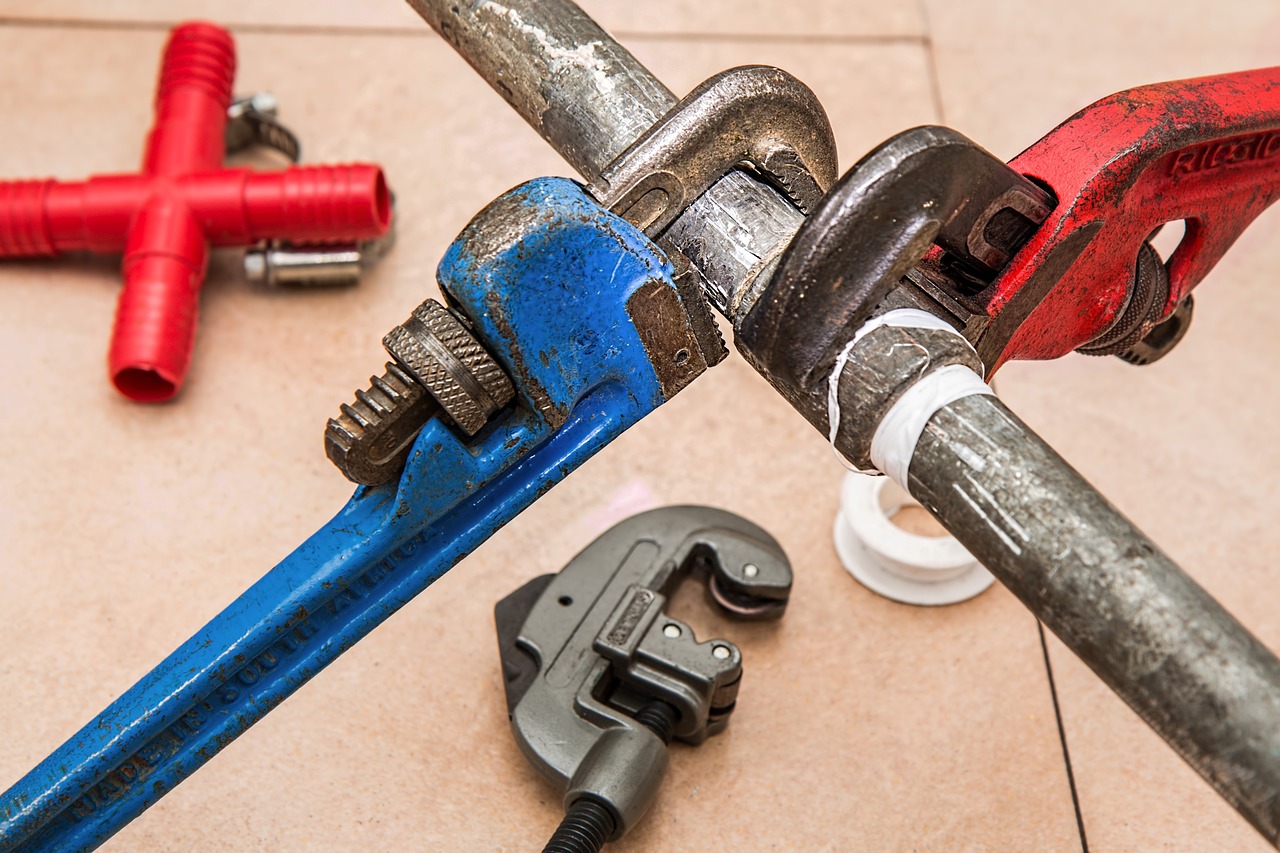
2. Essential Tools for DIY Plumbing
Having the right tools is crucial for effective and safe plumbing repairs.
Basic Plumbing Tools:
- Plunger: Essential for unclogging toilets and drains.
- Adjustable Wrench: Useful for loosening and tightening nuts and fittings.
- Pipe Wrench: Designed for gripping pipes and pipe fittings.
- Plumber’s Tape (Teflon Tape): Seals pipe threads to prevent leaks.
- Basin Wrench: Allows access to hard-to-reach nuts under sinks.
- Plumber’s Snake (Drain Auger): Removes clogs deeper in the drain line.
- Bucket and Towels: For catching water and cleaning spills.
- Gloves and Safety Glasses: Protect your hands and eyes during repairs.
Tip: Investing in quality tools ensures they last longer and perform better.
3. Safety Precautions
Before starting any plumbing project, it’s important to prioritize safety.
Safety Tips:
- Turn Off Water Supply: Shut off the water to the fixture you’re working on to prevent leaks or flooding.
- Disconnect Power: If working near electrical outlets or devices, turn off the power to avoid electric shock.
- Use Protective Gear: Wear gloves and safety glasses to protect against injury.
- Ventilate the Area: Ensure proper ventilation when using chemical cleaners.
- Read Instructions: Follow manufacturer guidelines for tools and replacement parts.
- Work Carefully: Take your time to avoid mistakes and accidents.
SEO Keywords: plumbing safety tips, DIY plumbing precautions, safe home repairs
4. Fixing a Leaky Faucet
A dripping faucet can waste water and increase your utility bills. Most leaks are caused by worn-out washers or seals, which are easy to replace.
Step-by-Step Guide:
- Turn Off Water Supply: Shut off the valves under the sink or the main water supply.
- Plug the Drain: Use a sink stopper or rag to prevent small parts from falling down the drain.
- Disassemble the Faucet:
- Remove decorative parts (caps, handles) using a screwdriver or Allen wrench.
- Loosen the packing nut with a wrench.
- Extract the stem or cartridge depending on your faucet type.
- Inspect and Replace Parts:
- Examine O-rings, washers, and seals for wear.
- Replace worn parts with exact matches from a hardware store.
- Reassemble the Faucet: Reverse the disassembly steps, ensuring all parts are tightened securely.
- Turn On Water Supply: Test the faucet to ensure the leak is resolved.
Tip: Take the old parts with you to the store to ensure you purchase the correct replacements.
5. Unclogging a Drain
Clogged drains are common in sinks, showers, and tubs due to hair, soap scum, and debris buildup.
Methods to Unclog Drains:
Using a Plunger:
- Remove Any Drain Cover: Take off the stopper or strainer.
- Fill with Water: Ensure there’s enough water to cover the plunger’s cup.
- Position the Plunger: Place it over the drain, creating a seal.
- Plunge Vigorously: Push down and pull up rapidly several times.
- Check Drainage: Remove the plunger to see if the water drains.
- Repeat if Necessary: Continue until the clog is cleared.
Using a Plumber’s Snake:
- Insert the Snake: Feed the auger into the drain until you feel resistance.
- Rotate and Push: Turn the handle clockwise to break up the clog while pushing forward.
- Retrieve the Snake: Pull it out slowly, bringing up debris.
- Flush the Drain: Run hot water to clear any remaining residue.
Homemade Drain Cleaner:
- Pour Boiling Water: Carefully pour boiling water down the drain.
- Add Baking Soda: Pour half a cup of baking soda and let it sit for a few minutes.
- Add Vinegar: Pour half a cup of white vinegar; it will fizz and break down the clog.
- Wait: Let the mixture sit for 15-30 minutes.
- Flush with Hot Water: Rinse the drain with hot water to clear the clog.
SEO Keywords: unclog drain, DIY drain cleaning, clear clogged sink
6. Repairing a Running Toilet
A running toilet wastes a significant amount of water. The issue is often due to a faulty flapper, fill valve, or float.
Step-by-Step Guide:
- Remove the Tank Lid: Set it aside carefully to avoid breaking.
- Inspect the Flapper:
- Check if the flapper is sealing properly over the flush valve.
- If worn or damaged, replace it.
- Adjust the Float:
- If the water level is too high, adjust the float to lower it.
- For float balls, bend the arm downward slightly.
- For cup floats, adjust the clip or screw mechanism.
- Check the Fill Valve:
- If water is not shutting off, the fill valve may need replacement.
- Follow manufacturer instructions to install a new fill valve.
- Test the Toilet: Flush and observe to ensure the problem is resolved.
Tip: Replacement parts are inexpensive and available at most hardware stores.
7. Addressing Low Water Pressure
Low water pressure can make daily tasks frustrating. It often occurs due to clogged aerators or buildup in pipes.
Fixing Low Water Pressure:
- Clean Faucet Aerators:
- Unscrew the aerator from the faucet tip.
- Disassemble and soak parts in vinegar to dissolve mineral deposits.
- Rinse and reassemble before reinstalling.
- Check Showerheads:
- Remove the showerhead.
- Soak it in vinegar to remove buildup.
- Clean nozzles with a brush if necessary.
- Rinse and reinstall.
- Inspect for Leaks:
- Check visible pipes for leaks that may reduce pressure.
- Repair any leaks found.
- Check the Pressure Reducing Valve (PRV):
- If your home has a PRV, it may need adjustment or replacement.
- Adjust the screw on the valve to increase pressure.
SEO Keywords: low water pressure, improve water pressure, clean faucet aerator
8. Fixing a Leaking Pipe
Leaking pipes can cause water damage if not addressed promptly. Temporary fixes can prevent further damage until a permanent repair is made.
Temporary Fixes:
Using Epoxy Putty:
- Turn Off Water Supply: Shut off the main water valve.
- Dry the Pipe: Wipe the area around the leak.
- Apply Epoxy Putty:
- Knead the putty until it’s pliable.
- Press it over the leak, covering it completely.
- Smooth the edges for a tight seal.
- Allow to Cure: Wait the recommended time before turning the water back on.
Using a Pipe Repair Clamp:
- Turn Off Water Supply.
- Place the Clamp:
- Position the rubber gasket over the leak.
- Fit the clamp over the gasket and tighten securely.
- Test the Repair: Turn the water back on to check for leaks.
Important: These are temporary fixes. It’s advisable to replace the damaged section of the pipe as soon as possible.

9. Replacing a Showerhead
Upgrading or replacing a faulty showerhead can improve water flow and enhance your shower experience.
Steps:
- Remove the Old Showerhead:
- Turn the old showerhead counterclockwise to unscrew it.
- If tight, use an adjustable wrench with a cloth to prevent scratches.
- Clean the Threads: Remove old plumber’s tape and debris from the shower arm threads.
- Apply New Plumber’s Tape: Wrap the threads clockwise with plumber’s tape to ensure a good seal.
- Install the New Showerhead:
- Screw the new showerhead onto the shower arm by hand.
- Tighten gently with a wrench if necessary, avoiding over-tightening.
- Test for Leaks: Turn on the water and check for any leaks around the connections.
Tip: Consider water-saving showerheads to reduce water consumption.
10. Installing a New Faucet
Replacing an old or leaking faucet can refresh your bathroom or kitchen’s appearance and functionality.
Steps:
- Turn Off Water Supply: Shut off valves under the sink or the main water supply.
- Disconnect Supply Lines: Use a wrench to loosen and remove the water supply lines.
- Remove the Old Faucet:
- Loosen the mounting nuts under the sink.
- Lift the faucet out from above.
- Clean the Sink Surface: Remove old sealant and debris.
- Install the New Faucet:
- Place the gasket or apply plumber’s putty as per manufacturer instructions.
- Insert the faucet into the mounting holes.
- Secure it from underneath with mounting nuts.
- Reconnect Supply Lines: Attach the water lines to the faucet’s tailpieces.
- Turn On Water Supply: Check for leaks and ensure proper operation.
SEO Keywords: install new faucet, replace kitchen faucet, DIY faucet installation
11. Clearing a Jammed Garbage Disposal
A jammed garbage disposal can halt your kitchen cleanup. Often, the issue is caused by food debris or foreign objects lodged inside.
Steps to Clear the Jam:
- Turn Off Power: Unplug the disposal or switch off the circuit breaker.
- Locate the Reset Button: Usually found at the bottom of the unit; press it to reset.
- Manually Turn the Blades:
- Insert an Allen wrench into the hole at the bottom center of the disposal.
- Turn the wrench back and forth to free the blades.
- Remove Debris from Above:
- Use tongs or pliers to extract any visible obstructions from the sink opening.
- Never put your hand inside the disposal.
- Restore Power and Test: Turn the power back on and run water to test the disposal.
Important: Always ensure the power is off before attempting to clear a jam to prevent injury.
12. Maintaining Your Water Heater
Regular maintenance of your water heater improves efficiency and extends its lifespan.
Steps:
- Turn Off Power and Water Supply:
- For electric heaters, switch off the circuit breaker.
- For gas heaters, set the thermostat to “pilot.”
- Close the cold water supply valve.
- Drain the Tank:
- Attach a garden hose to the drain valve at the bottom of the tank.
- Open a hot water faucet in the house to allow air into the system.
- Open the drain valve and let the water flow out.
- Flush the Tank:
- Once drained, briefly open the cold water supply to stir up remaining sediment.
- Drain again until the water runs clear.
- Close Valves and Refill:
- Close the drain valve and remove the hose.
- Open the cold water supply valve to refill the tank.
- Leave the hot water faucet open until water flows steadily to release air.
- Restore Power:
- Turn the power back on for electric heaters.
- Set the thermostat back to the desired setting for gas heaters.
Tip: Perform this maintenance annually to prevent sediment buildup.
13. When to Call a Professional
While many plumbing issues can be handled DIY, some situations require professional expertise to ensure safety and compliance with regulations.
Situations Requiring Professionals:
- Major Leaks or Bursts: Significant water damage risk requires immediate professional attention.
- Sewer Line Issues: Problems with sewer lines are complex and hazardous.
- Gas Line Repairs: Any work involving gas should be handled by certified professionals.
- Water Heater Replacement: Installing new units may require permits and professional installation.
- Building Code Compliance: Ensuring work meets local regulations and standards.
SEO Keywords: professional plumber, when to hire a plumber, complex plumbing issues
14. Preventive Maintenance Tips
Regular maintenance helps prevent plumbing problems and extends the life of your fixtures and appliances.
Tips:
- Inspect for Leaks: Regularly check under sinks and around appliances for signs of leaks.
- Maintain Drains: Use drain screens to prevent debris from entering pipes.
- Avoid Chemical Drain Cleaners: They can damage pipes; opt for mechanical methods instead.
- Winterize Pipes: Insulate exposed pipes to prevent freezing in cold weather.
- Know Your Shut-Off Valves: Familiarize yourself with the location of main and fixture-specific shut-off valves.
- Check Water Pressure: Excessive pressure can strain your plumbing system; consider installing a pressure regulator if needed.
Tip: Regularly scheduled maintenance can save you from costly repairs in the future.
15. Common Mistakes to Avoid
Avoiding common errors can make your DIY plumbing efforts more successful and prevent further issues.
Mistakes:
- Overtightening Connections: Can damage threads and cause leaks.
- Ignoring Small Leaks: Minor drips can lead to bigger problems if not addressed promptly.
- Using Mismatched Parts: Always use parts compatible with your plumbing system.
- Improper Use of Plumber’s Tape: Wrap tape clockwise around threads to ensure a proper seal.
- Forgetting to Turn Off Water: Can result in flooding and water damage.
- Overusing Chemical Drain Cleaners: Can corrode pipes and harm the environment.
SEO Keywords: plumbing mistakes, avoid DIY errors, successful plumbing repairs
16. Conclusion
Fixing common plumbing issues yourself is a practical way to save money and maintain your home’s functionality. By understanding the basics of your plumbing system and following safe, step-by-step methods, you can handle minor repairs confidently. Remember to always prioritize safety, use the right tools, and know when it’s time to call in a professional.
Empowering yourself with these skills not only enhances your home maintenance capabilities but also provides peace of mind knowing you can address common problems promptly. Keep this guide handy as a reference for future plumbing tasks.
17. About Wrestore
Commercial and Residential Property Maintenance Specialists
At Wrestore, we understand the importance of a well-maintained plumbing system. As a locally run and owned property maintenance company based in London, we have over 30 years of combined experience in the property and built environment sector. Serving areas within the M25, we provide affordable managed maintenance work for commercial and residential properties.
Our Services Include:
- Plumbing Services: From fixing leaks to installing new fixtures and full system overhauls.
- General Maintenance: Keeping your property in optimal condition.
- Electrics: Safe and certified electrical repairs and installations.
- Decorating: Transforming your space with professional painting and decorating.
- Refurbishment: Comprehensive property upgrades.
- Handyman Services: Versatile assistance for all those little jobs around the home.
Why Choose Wrestore?
- Reliability: We deliver a hassle-free, dependable service that you can count on.
- Expertise: Our experienced team ensures high-quality workmanship.
- Accredited: We are accredited by Alcumus SafeContractor, Alcumus SafePQQ, and Gas Safe Register, ensuring our services meet high safety and quality standards.
- Customer Satisfaction: See our reviews on Trustpilot and discover why our clients trust us with their properties.
Contact Us Today
Phone: +44 (0)207 183 2771
Email: works@wrestore.co.uk
Address: 227 Waterloo Road, London, SE1 8XH
Visit our website to learn more about how we can assist you in maintaining and enhancing your property.
Taking care of common plumbing issues yourself can be rewarding and cost-effective. Equip yourself with the knowledge and tools, and tackle those minor repairs with confidence.
Note: This blog post is intended for informational purposes and should not replace professional advice. Always consult qualified professionals for specific concerns related to your property’s plumbing system.